
If you want to reinforce your roof, you may be trying to determine whether a roof soaker sounds like a good investment. You may be unsure whether your roof requires a set of soakers or a cover flashing. And if you haven’t found the answer, don’t fret.
Are roof soakers worth it? The answer to this question is in this article. Read until the end to find out all you need to know about roof soakers.
What are soakers on rooftops, and what do they do?
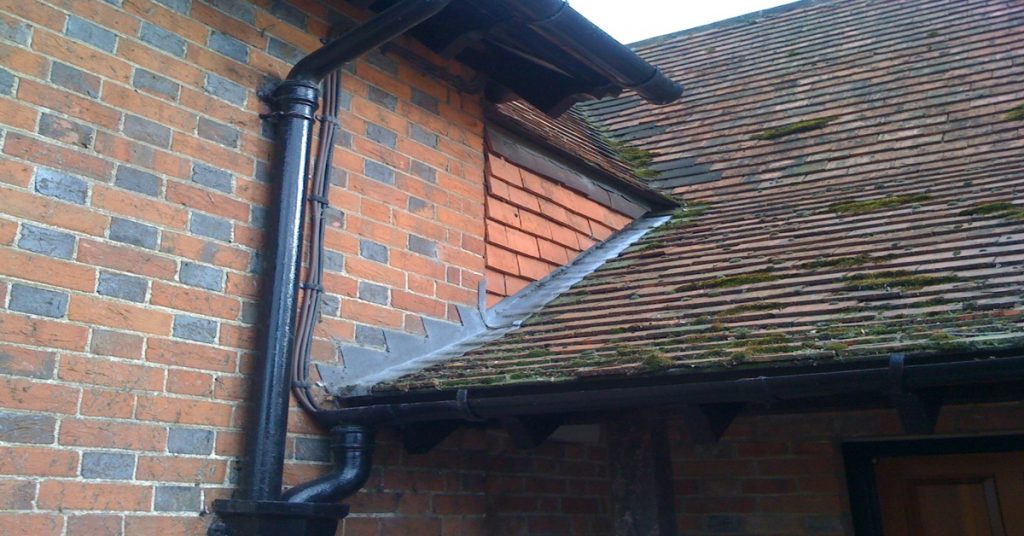
Roof soakers are weather and waterproof products you can use to prevent water from entering a roof space. When fitted underneath a tile, a roof soaker ensures the water runs down the joint where the roof meets the soaker and the tiles. There are several roof soakers, including lead and aluminium soakers.
What are lead soakers and how big should they be?
Lead soakers are a particular flashing product you can install between tiles. They are made of lead, and each has a different product code depending on the thickness of the lead. Lead soakers are common in the UK and Australia, with Australian and UK residents installing them where there are features that break up the roof’s structure.
Lead soakers should always include the turn-down section, which is 25 millimetres. The entire size will be approximately 174 millimetres if you use them for vertical tiling. If you’re installing lead soakers for a pitched roof, your lead soaker should be between 190 and 200 millimetres.

What are aluminium soakers?
Aluminium soakers are another kind of roof flashing product that you can install to join a wall to a new roof. They are made of aluminium, more lightweight and cost-efficient options than lead soakers, making a rooftop look smart and finished.
How are soakers different from flashing on roofs?
While you can use a flashing for extra protection to prevent water from passing through the rooftop, you can only install them on their own. Flashing is also not ideal for slates, while soakers are suitable for slates and plain tiles.
Should you get roof soakers installed, and is it worth it?
A soaker might be worth installing if your home has a gap between its chimneys and features such as tiles, ventilation pipes, or skylights. When you install them correctly, it can be a worthwhile investment, as all rainwater will travel from the tiles to the soakers and straight to the gutters.
Should you install flashing instead of a soaker for your roof?
In some situations, you cannot use soakers for a roof. For instance, you can’t use soakers if you have interlocking tiles. If you have a side abutment, it’s also best to avoid installing soakers. If your roof pitch is below 50 degrees, you should also avoid certain soakers, such as the valley type. For these reasons, you should install lead cover flashing to protect your roof.
Since soakers offer an appealing, polished aesthetic, there may be times when you want to install soakers with flashings. However, remember that you must install cover flashings on their own if you have profiled tiles.
Which tools should you use to install soakers on a roof?
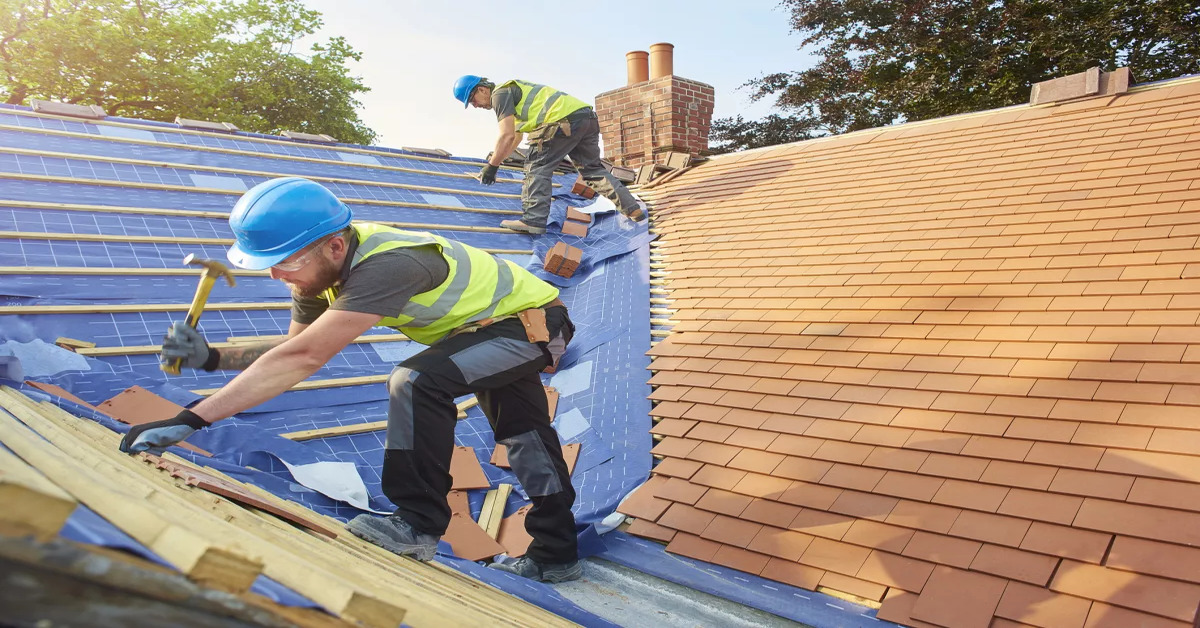
The main tools you will need to install soakers on a roof include a ladder roof hook to access your roof, nails and a hammer to affix the slates and the soakers, and shears to cut the material.
Can you install soakers with step flashings?
Yes, you can install soakers with step flashings. Step flashings cover soakers on chimneys or walls. You can install the step flashings by measuring the length and height of the chimney, removing the mortar with a hammer and screwdriver, cutting and marking the step flashings material, marking and bending the folding sections, and then affixing the step flashings on top of the soakers.
You may also use Smartform roof flashing repair tape as a temporary fix to seal the gap between a wall and your roof.
It’s possible to order online to receive roof soakers for a chimney or rooftop. Choose a reputable and reliable website and get roof soakers delivered to your home or site for an attractive finish for your roof.
How do you install soakers on a roof?

To install soakers on a roof, follow the four steps listed below.
1. Measure and cut the soaker material
First, cut the roll and bend the soaker into the L shape. Measure approximately 25 millimetres into the crease and use shears to cut into the soaker. Fold the sheared section down 90 degrees.
2. Align and place the L-shaped soaker under the tile
Remember that the bottom part of the l-shaped soaker goes underneath the tile. Also, don’t forget that the remaining side goes against the structure that juts out of the rooftop.
3. Make measurements from the tile to the soaker underneath
When you’ve installed the first soaker and tile, you should measure from the top edge of the tile to the section of the first soaker to determine the size of the next soaker.
4. Affix each soaker to the tiles starting from the lowest section of your roof
When you affix a soaker to a rooftop, you can hammer nails into the roof’s structure. Always begin at the lowest section of the roof and ascend the roof as you work on overlapping each soaker on top of the tiles. This method prevents water from leaking into the gaps.
Roof soakers: Why you should consider them
A roof soaker offers extra weatherproofing to your roof, so it’s well worth installing them in places where you have gaps in features like chimneys or ventilation pipes. If you need to install a roof soaker, ensure you have the best quality tools and safety equipment. Install roof soakers efficiently and defend your roof from damp weather.
