Metal roofs are one of the most robust and durable materials to protect your home. However, they aren’t indestructible. A metal roof can leak, just like any other roof type. Read on to discover the most common causes of metal roof leaks, how to fix a metal roof, and unique considerations.
Metal Roof Considerations
Metal roofs require different considerations than traditional asphalt, cement, or clay roofing materials. Repairing a metal roof can be particularly challenging. While they’re built to last, metal roof repair patches are not as durable as they might have a different expansion and contraction rate from the surrounding metal.
The difference in expansion and contraction can cause stress, which leads to cracks, splits, and further repairs.
Five Common Causes of Metal Roof Leaks
If metal roofs are so long-lasting, what causes leaks and damage? Unfortunately, no roofing material is indestructible. While metal roofs are durable, these five common problems might cause leaks.
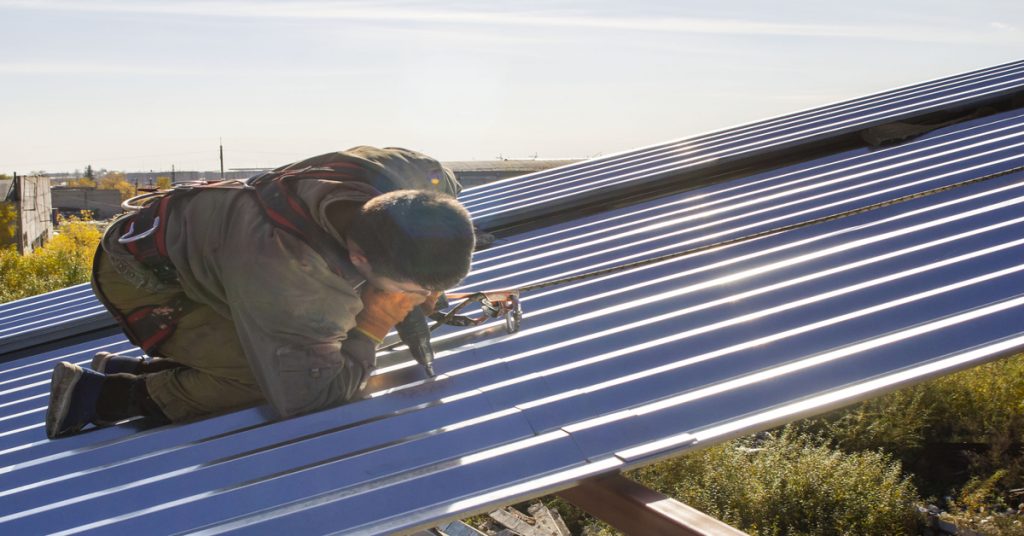
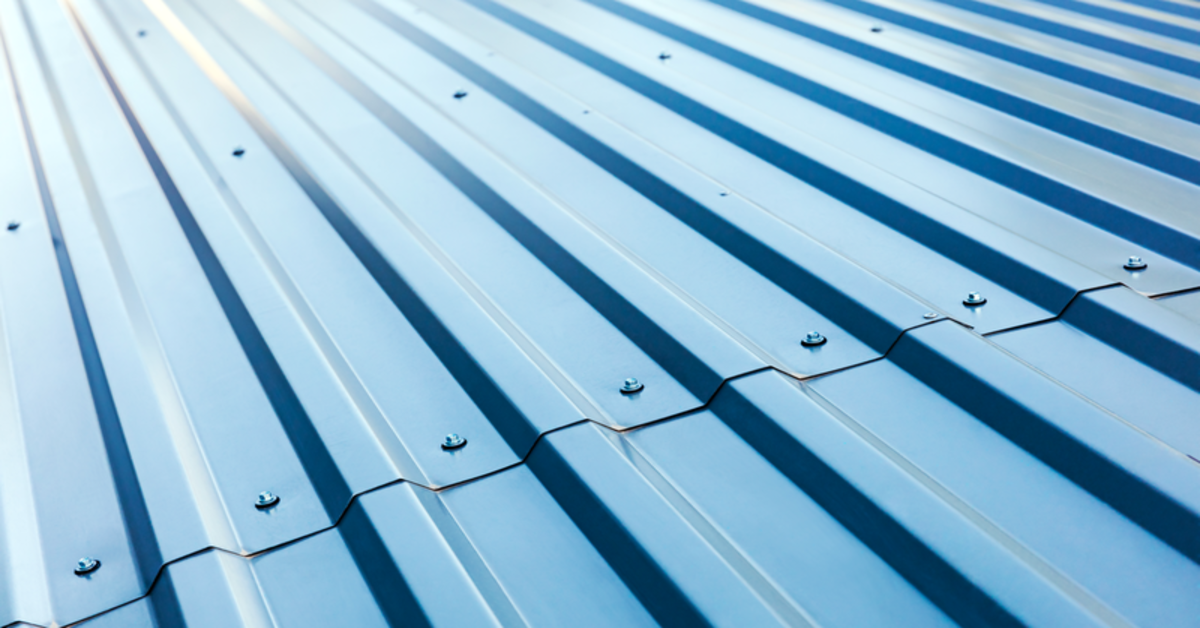
1. Metal Roofing Screws
Roof screws are one of the leading causes of metal roof leaks. Metal roofing screws act as a sealant by compressing a rubber washer to the metal roof panels to prevent water from entering the roof. It’s a simple but effective method. However, incorrectly placed screws are responsible for most metal roof leaks.
- Over-driven screws: If you overdrive a screw, it’ll break the rubber washer and weakens the seal.
- Under-driven screws: The rubber washer isn’t compressed. Therefore, the screws and metal panel cannot form a gasket.
- Wrong angle: The rubber washer cannot sit flat against the metal panel. Thus, the screw does not entirely seal.
Even properly-installed screws degrade and lose their seal. It can be challenging to distinguish leaking screws.
2. Stack Flashings
The area around stack flashings is the “boots” around pipes and other penetrations in the metal roof, such as air vents or plumbing. Most stack flashings are rubber sealants flat on the individual panels. They seal against the metal and squeeze around the pipe to seal the penetration. However, expansion and contraction might damage stack flashing seals.
3. Missing Sealants
Sealants under ridge caps, flashings, roof transitions, and pitch pans will need regular health checks as they wear over time. As the metal roof expands and contracts each day, the seals must remain flexible to stretch with the metal. Use a metal roof sealant to touch up missing or receding sealants.
4. Curb Flashings
Heating, ventilation, and air conditioning units on metal roofs sit on the curbs. These expose a weak point in the roof flashing and sealant. It’s incredibly challenging to install flashing around HVAC units. Water can get stuck behind the unit and erode the sealant over time – a complex problem to fix without replacing the metal roof panel entirely.
5. Seams and Overlaps
Seams between overlapping metal panels often cause leaks – known as a capillary draw – when water travels uphill between two metal panels. To fix it, place sealant or butyl tape between the two pieces of metal. However, if not done correctly, you might make the leak worse than if left untouched.
Tools and Materials: What You Will Need
- Extension ladder
- Nail bar and hammer
- Screws and nails
- Drill
- Wire brush
- Roof cement
- Putty knife
- Caulk gun
- Metal-roofing base coat
- Paintbrush
- Fabric shears
- Butyl tape
How to Repair a Leaking Metal Roof
So, how do you fix a leaking metal roof? Repairing holes in metal roofs requires a different approach to other roofing materials.
1. Clean the Repair Area
Firstly, you must clean the surface thoroughly. If the hole or gap in the roof is the fault of rust, it will be dirty and require cleaning. Ensure you use a cleaner specifically for a metal roof and clean until the panels are completely free of dirt, rust, film, or algae.
Next, wipe away the cleaner residue with a wet cloth. Any remaining cleaner will compromise the quality of the roof repair.
2. Scuff the Metal
Secondly, use a wire brush to scuff the metal surface at the repair area. Scuffing will help the sealant bond. Only scuff the required area – if you use a metal brush beyond the repair site, you might accidentally remove the protective coating and cause future deterioration.
3. Measure and Cut
Now, you need to measure the repair site and cut the metal panel to an equal size. The metal patch should overlap the existing metal panels by at least 5cm past the edges of the damage. Once you cut and fit the metal sheet to size, file the corners to prevent sharp edges that could attract snow and ice.
Place the metal patch over the hole. Using a pencil, marked the outline of the patch on the roof. Then, remove the patch and check that the outline overlaps by at least 5cm in all directions.
4. Install and Secure the Repair Patch
Liberally apply a sealant to the metal surface within the pencil outline, avoiding gaps at the edge. Press the patch to the damaged area. Sealant should squeeze out from the edges – if it does not, apply more sealant.
To secure the patch, use metal screws. Space the screws 10cm apart, within 5cm of the edge of the patch to form uniform pressure. The screw should only attach the patch to the panel below – it shouldn’t go through to the roof space below.
5. Paint the Patch
Finally, paint the patch to match the colour of your roof panels. Use a wire brush to lightly paint the roof surface and the metal panel around the patch’s edges. You might need to wait for the sealant to cure completely before painting. Also, double-check that your chosen paint is compatible with the sealant.
Repairing Metal Roofs
Metal roof repairs are relatively straightforward. However, ensure you understand the unique considerations required for metal roofs. While metal should last a long time, a poorly done repair could need regular maintenance to prevent further damage. Always ensure you take time and care to complete the job correctly.