
When the weather becomes extreme, roof flashing keeps your home safe. Making sure you have flashing installed on your corrugated roof is essential. It acts as a barrier that prevents water from getting into your roof structure. This prevents leaking and serious damage.
Do it yourself with this guide. Understand the tools and materials needed and the steps to follow to install your roof flashing. Following these instructions will result in a professional finish that lasts.
Understanding roof flashing
Roof flashing, a slim material crafted from galvanized steel, serves the purpose of safeguarding the roof’s surface and diverting water flow from key areas such as:
- Valleys
- Chimneys
- Walls
- Roof junctions.
Installation of flashing is crucial for corrugated roofs. It prevents water seepage by effectively sealing joints and edges.
Types of roof flashing
Multiple types of flashing go on a roofing system. Each part fits a different aspect of the roofing system. All this prevents water infiltration and protects your home’s structure.
Common types include:
Continuous Flashing
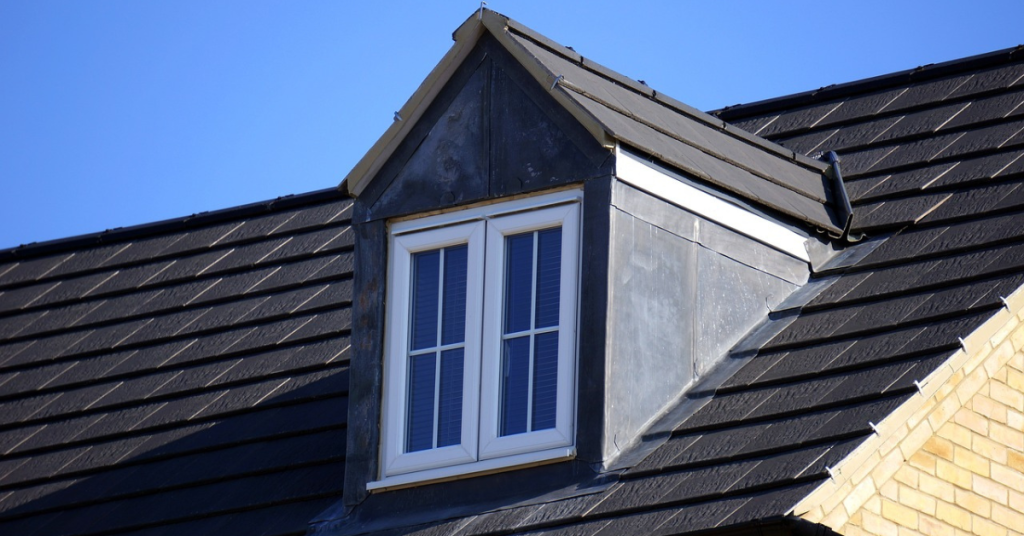
Continuous flashing, also known as apron flashing is a strip of metal that guides water away from walls and where roofs meet. It spans the connection point between the roof and a vertical surface, such as at the junction of a chimney or dormer with the roof incline. This continuous flashing serves as a shield decreasing the chances of water leaks.
Counter Flashing
Counter flashing partners with base flashing. This creates a two-part system that seals roof penetrations and edges. It is installed over base flashing to cover and protect it. Counter flashing is often embedded into masonry walls or attached to vertical surfaces, providing an additional layer of defense against water infiltration.
Base Flashing
Base flashing goes at the base of roof features such as:
- Chimneys
- Vents
- Skylights
It works in tandem with counter flashing to ensure that water is directed away from these vulnerable areas. Base flashing is typically installed before the counter flashing and is an essential component for sealing roof penetrations.

Flashing for Metal Roof Panels
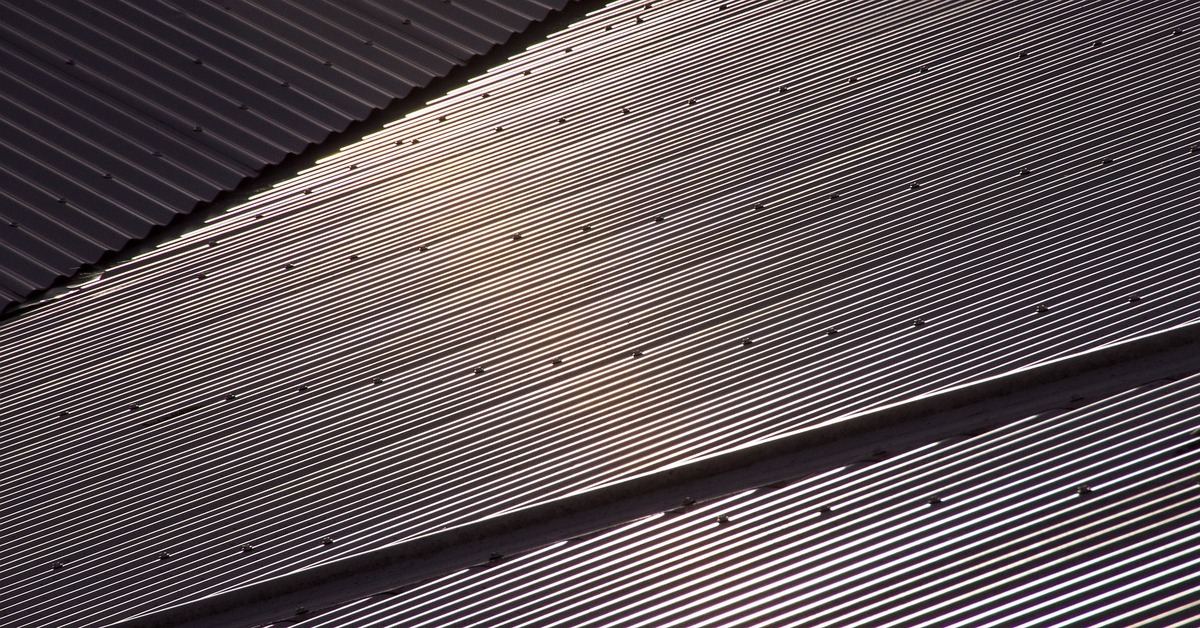
Metal roof panels on corrugated roofs require unique flashing to address their unique characteristics. Flashing for metal roofs includes:
- Ridge caps
- Valley flashing
- Drip edges.
They fit on the metal panels so the roof is watertight.
- Ridge caps: cover the roof’s peak
- Valley flashing: protects the intersections of roof planes
- Drip edges: stop water getting under the roofing material.
Foam closure strips are also needed. They work with your corrugated metal roof panels to seal any gaps. This prevents:
- Water
- Debris
- Pests
Strips fit the contours of the corrugated panels so the seal is extra tight.
A guide to installing flashing
Precision is key when installing flashing. Especially on a corrugated roof, as there isn’t much room for error.
For proper installation, you’ll need these tools and materials and to prepare your metal roofing panels like this:
Tools and materials you’ll need
Before you begin, have the following tools and roof materials to hand:
- Measuring tape
- Utility knife
- Tin snips
- Hammer
- Nails or screws
- Caulking gun
- Roofing cement
- Metal flashing (galvanized steel or aluminum)
- Sealant
Preparing the roof
Preparation is key to a successful flashing installation. Prepare your corrugated roof by:
Cleaning the roof
Remove any debris. Look for dirt, or old roofing materials from the area where you’ll install the flashing. A clean surface helps the flashing stay on.
Looking for damage
Check the roof for any signs of damage or wear. Repair any issues before installing the flashing to prevent further problems.
Cut down flashing
Measure the flashing by using tin snips to adjust it to size.
Dry Fit the Flashing by placing the cut flashing pieces on the roof to ensure they fit properly. Adjust as needed before securing them in place.

How to install flashing on a corrugated metal roof
Corrugated metal roofs have bumps and dips so installing flashing can be tricky. Follow these tips to install properly:
- Position the flashing starting from the lower edge of the roof and moving upwards. This way, each section of flashing will overlap with the one below it, guiding water away from the roof.
- Secure the flashing in place using roofing nails or screws on the corrugated metal. Place fasteners in the flat sections between the ridges to create a secure attachment.
- Seal off the edges by applying roofing cement or sealant along them to prevent water from seeping beneath. Pay close attention to corners and connections for thorough protection.
- Overlap flashing pieces by at least 6 inches when installing multiple sections. This extra overlap adds another layer of defense against water infiltration.
- Inspect for any gaps or potential entry points for water after securing the flashing. Apply more sealant where necessary to ensure a complete barrier against water leaks.
Installing valley flashing
Here’s how to install valley flashing.
Cut the flashing to fit
Measure the length of the valley and cut the flashing accordingly. It should extend at least 8 inches on either side of the valley centerline.
Position the flashing
Place the flashing in the valley, ensuring it conforms to the shape of the roof. The center of the flashing should align with the valley’s lowest point.
Secure the flashing
Nail or screw the flashing into place along the edges. Ensure the fasteners are placed in the flat areas to avoid water penetration.
Seal the edges
Apply a generous amount of roofing cement or sealant along the edges of the valley flashing. This will prevent water from getting under the flashing and into the roof structure.
Common mistakes to avoid
To ensure a smooth installation, try to avoid common errors. One of the most frequent mistakes is not properly overlapping the flashing pieces. If you don’t overlap them enough, you might end up with leaks. Always aim for an overlap of at least 6 inches.
Another common problem is not sealing enough. If you don’t use sufficient sealant, water can seep under the flashing, so it’s crucial to ensure all edges and joints are well sealed.
Neglecting the roof’s slope can also result in major issues down the line. Installing flashing without considering the slope can cause water pooling, so it’s important to make sure the flashing effectively directs water away.
How to maintain your roof flashing
Regularly checking on your roof flashing is essential to avoid leakage in the future. Do this by:
Inspecting annually
Check your flashing at least once a year for signs of wear, damage, or rust. Address any issues promptly.
Cleaning any debris
Remove leaves, dirt, and other debris that can accumulate around the flashing and cause blockages or damage.
Reapplying sealant
Sealant can degrade over time. Reapply roofing cement or sealant to any areas where it has worn away.
Checking your roof After storms
Severe weather can damage flashing. Inspect your roof after heavy storms and repair any damage immediately.
Boost your home’s longevity with RapidRidge
Water damage breaks any roofing system. Safeguard your home from damage by properly installing and upkeeping roof flashing. Your corrugated metal roof will thank you by staying secure and lasting longer.
Looking for top-notch roofing solutions? Check out RapidRidge. We provide innovative products that boost your roof’s durability against the elements.
Visit EvoBuild’s blog. You’ll find expert advice and valuable insights on roofing to maintain and enhance your roof’s condition.
