
Continuous dry verge systems are relatively new to Australia’s roofing industry. With mortar-fixed roofs dominating the scene, we regularly get asked what a continuous dry verge is. Well, we’re here to answer your most frequently asked questions about continuous dry verges.
What Is a Dry Roof Verge?
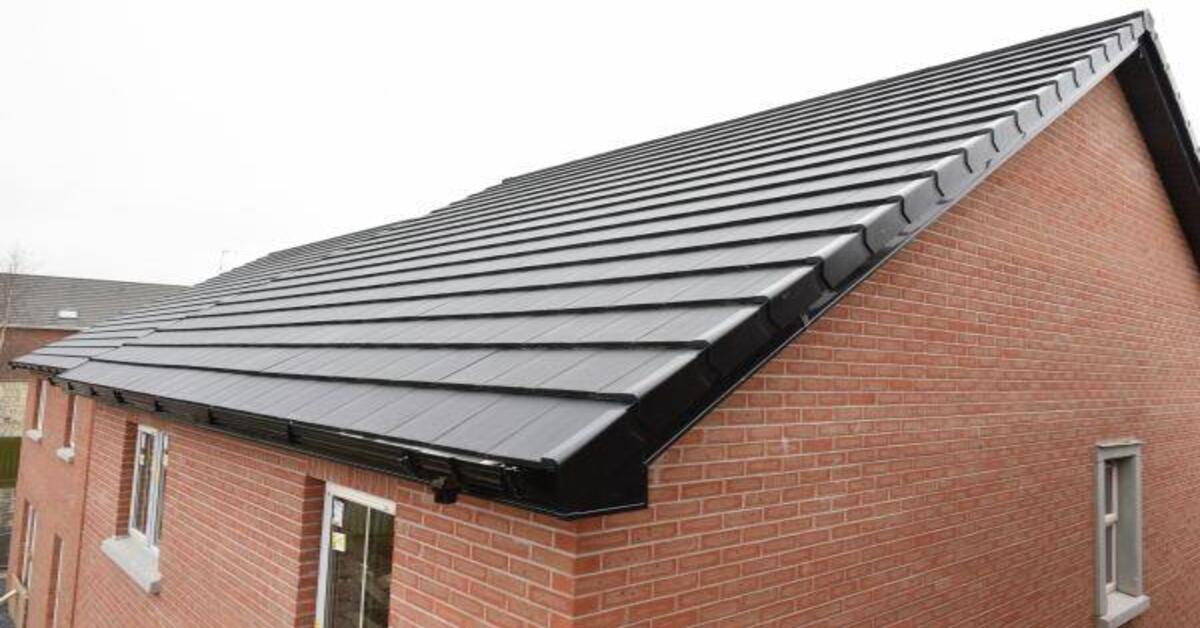
A continuous dry verge is a roofing system that facilitates natural cooling through air movement. By fixing tiles to the roof with mechanical screws, fastenings, and clamps, a continuous dry verge offers complete protection against water penetration.
A continuous dry verge has the added benefit of a passive ventilation system. Using eave vents to encourage the natural movement of air beneath the tiles, this circulation prevents hot air from descending into the property. Plus, ventilation minimises the build-up of dampness that leads to mould.

Reducing energy costs and easy to install, RapidRidge dry roofing gives greater security to the verge.
How Does a Dry Verge System Work?
Dry verge systems work by mechanically fixing caps or verges. They interlock and clip over the edge of the roof tiles, making them watertight and sealing them to protect them from birds or pests entering the roof space.
Traditionally built verges use mortar to secure the caps. While there’s no doubt that mortar does protect the roof from water and pests, it is far less durable. Over time, the breakdown of the mortar begins to cause the problems it’s meant to prevent—water leaking into the roof through cracks in the mortar.
Without mortar fixing the caps in place, the verge is better able to survive vibrations or movements that cause faster deterioration.
How Do You Fix Dry Verge Edging?

Here’s what you’ll need to fix dry verge edging:
- Underlay
- Tiling battens
- Batten end clips
- Eaves closure unit
- Ridge end cap
Step one: set out the dry verge
Install the underlay, following the instructions provided. Make sure all the tiling battens are extended by the same distance (45mm beyond the brickwork) to ensure the verge line is straight.
Step two: fix the batten end clips
Install the batten end clips to the end of each tile batten nails.
Step three: fit the eaves closure
Fit the eaves closure over the first tile; this overlap seals the verge securely. Fix the bargeboard through the holes in the eaves closure with screws.
Step four: prepare and lay the dry verge
Clip the first rapid verge unit over the eaves closure and slide towards the ridge until the tail lines up with the roof tile. Secure with nails into the batten end clip. The position and secure the rest of the rapid verge units in alternating upper and lower slots for the rest of the length of the verge
Step five: finishing
Finally, attach a ridge comb to the top of the verge unit. This prevents pests entering the roof space. To finish, repeat these steps for the verge on the other side of the ridge and interlock them at the apex.

Can You Fit a Dry Verge to an Existing Roof?
Before fitting a dry verge to an existing roof, you will need to remove all of the old mortar first. You can then install a timber batten from the eave to the ridge as a base to fix the new dry very to. Then, follow the above steps to fix the dry verge system to your roof.
Which Is the Best Dry Verge System?
RapidRidge offers a dry fixed roofing system with or without an added ventilation system. With RapidRidge’s dry very system, you can save up to 43% on cooling energy expenses throughout the year.
